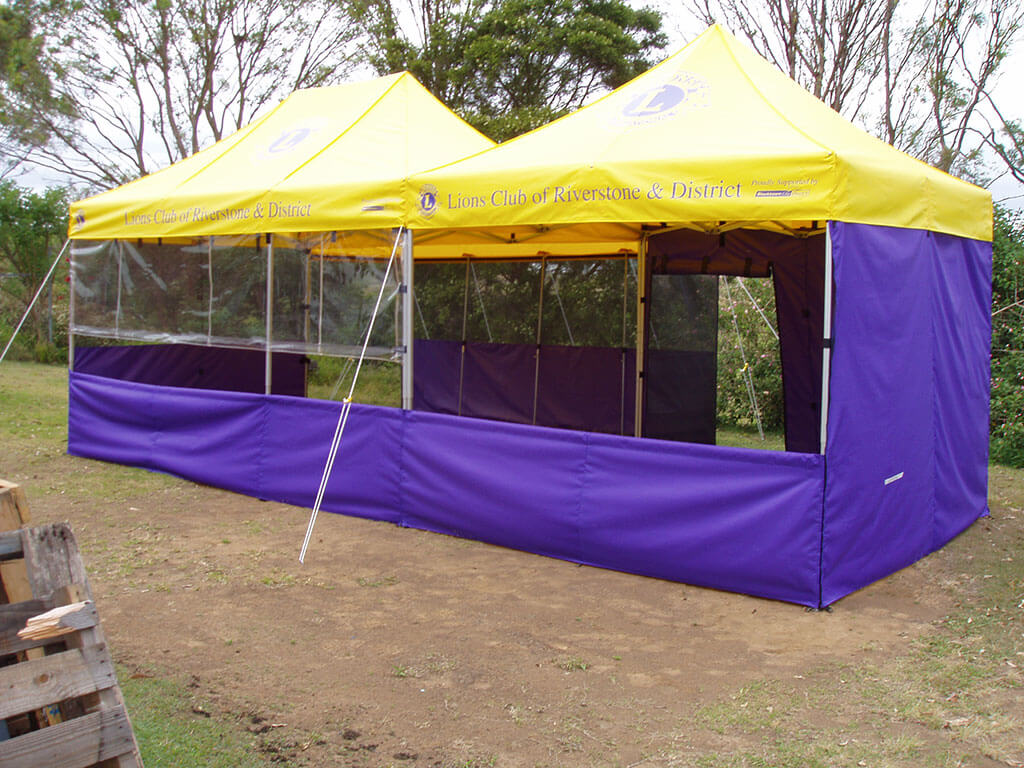
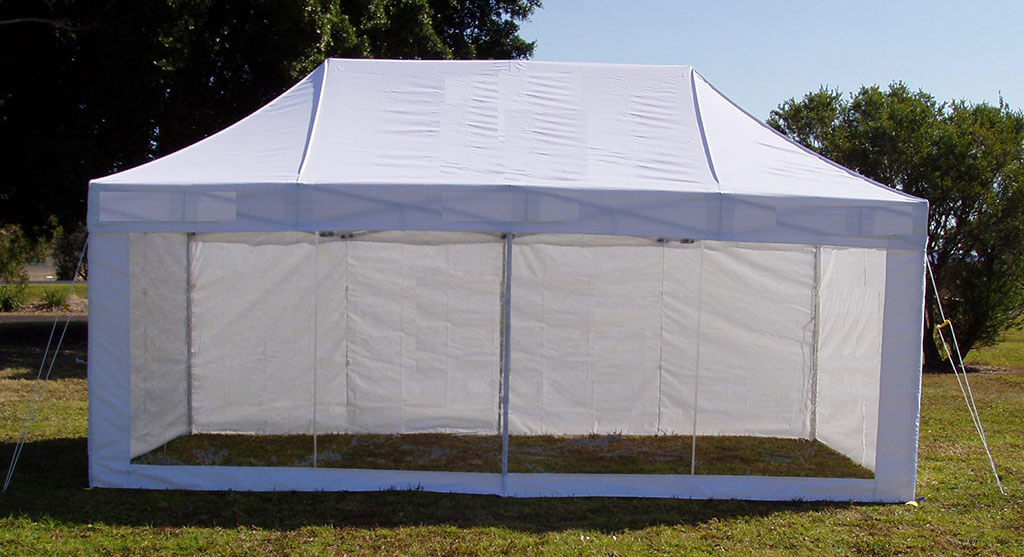
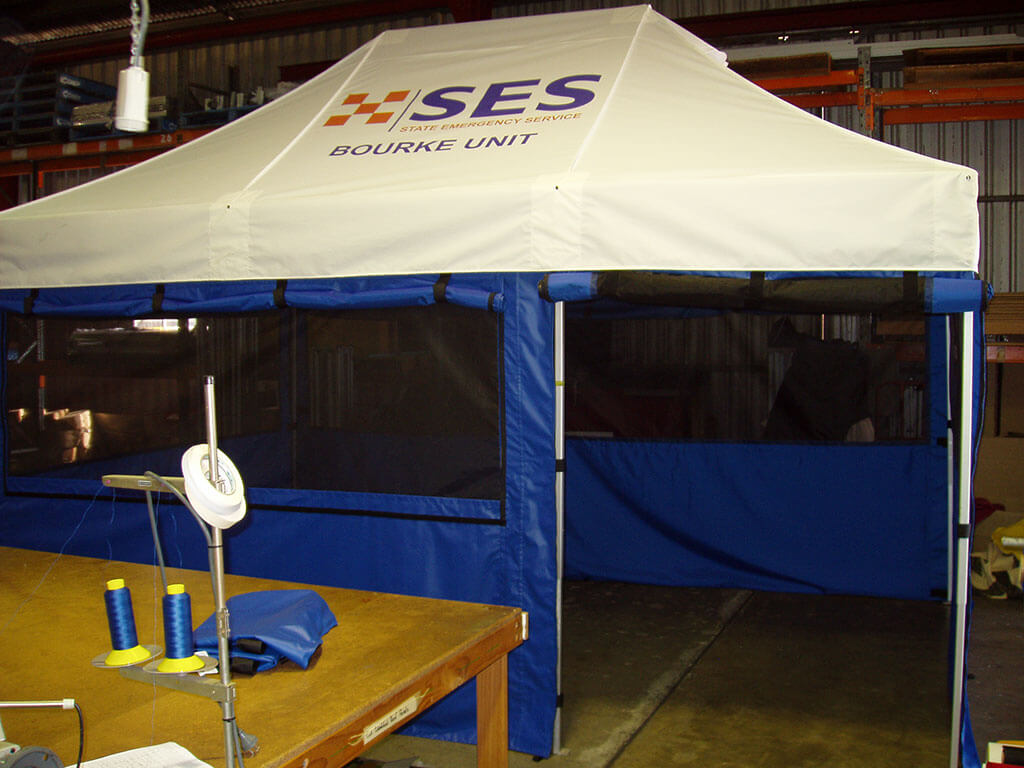
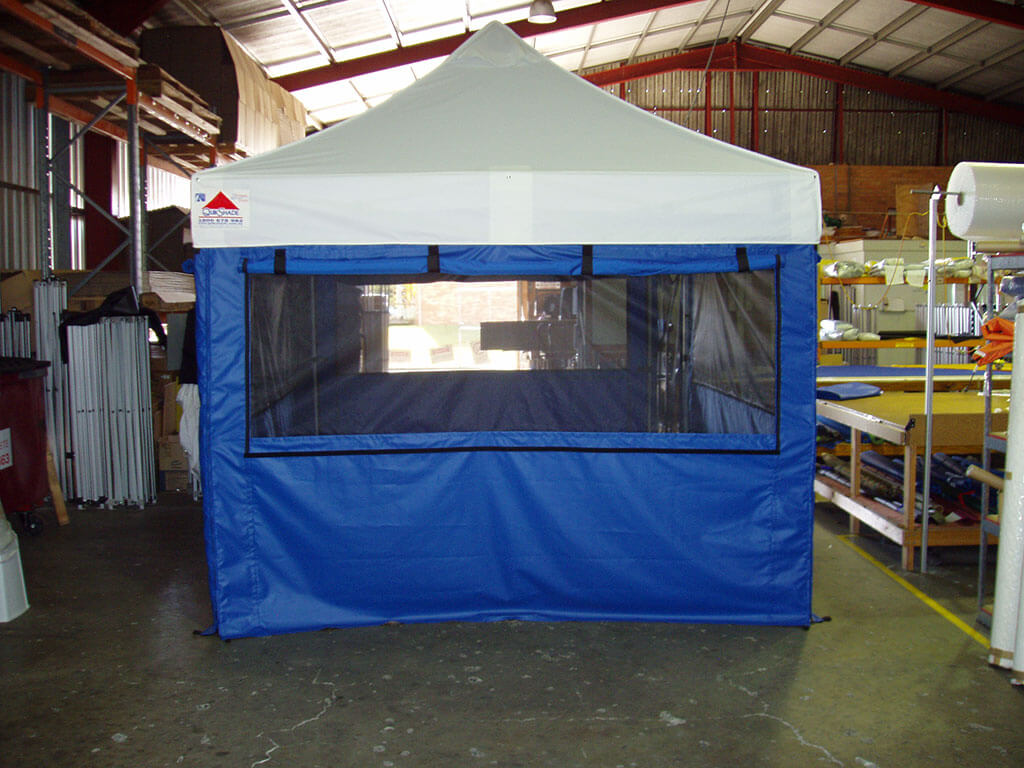
WALLS WINDOWS AND DOORS
Walls are available for all sizes of QuikShade and can be plain or printed on the inside or outside or on both sides. Clear Walls have a stock fabric border to make them easier to install, Mesh Walls also have a stock fabric border for strength, Storm Flaps can be added to Mesh Walls and walls with windows for privacy and to prevent rain blowing in.
Get A Quote
Description
QuikShade Wall Installation
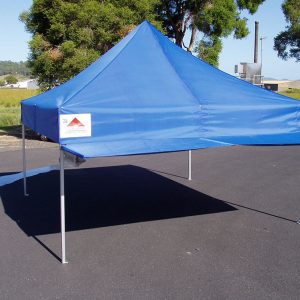
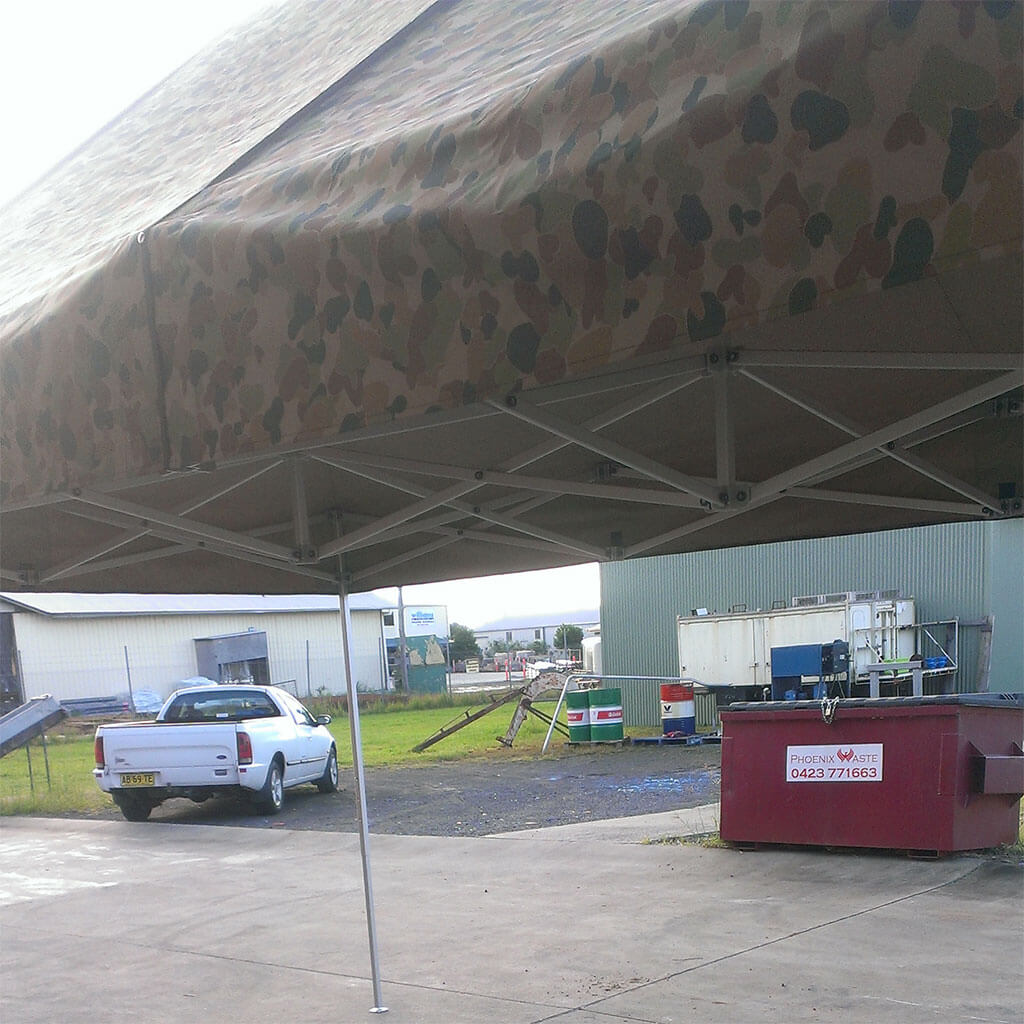
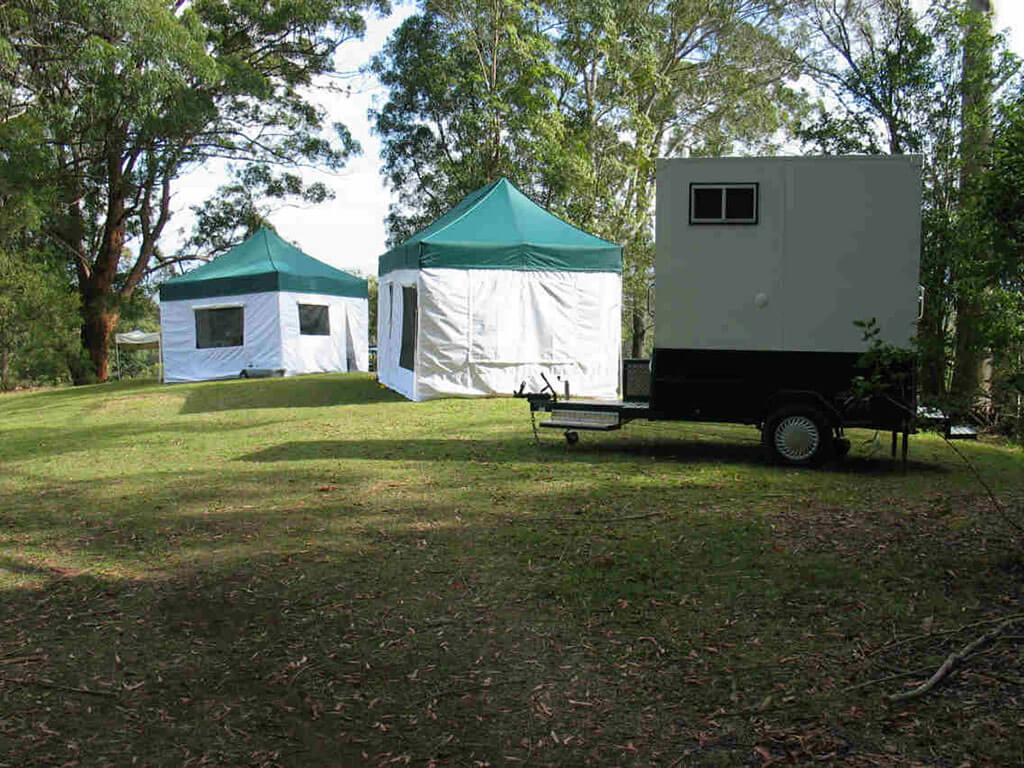
QuikShade walls are attached to the QuikShade frame – the strongest frame on the market. By attaching the walls to the frame, it is possible to adjust the height of your QuikShade and still have walls that reach the ground. (Walls that are attached to the fabric of the cover, are only designed to fit at one height setting! QuikShades have 3 different height settings.) Our walls are designed to fit a QuikShade; they are not intended to fit any other type of frame supplied by a different manufacturer.
1: Erect your QuikShade to the desired height.
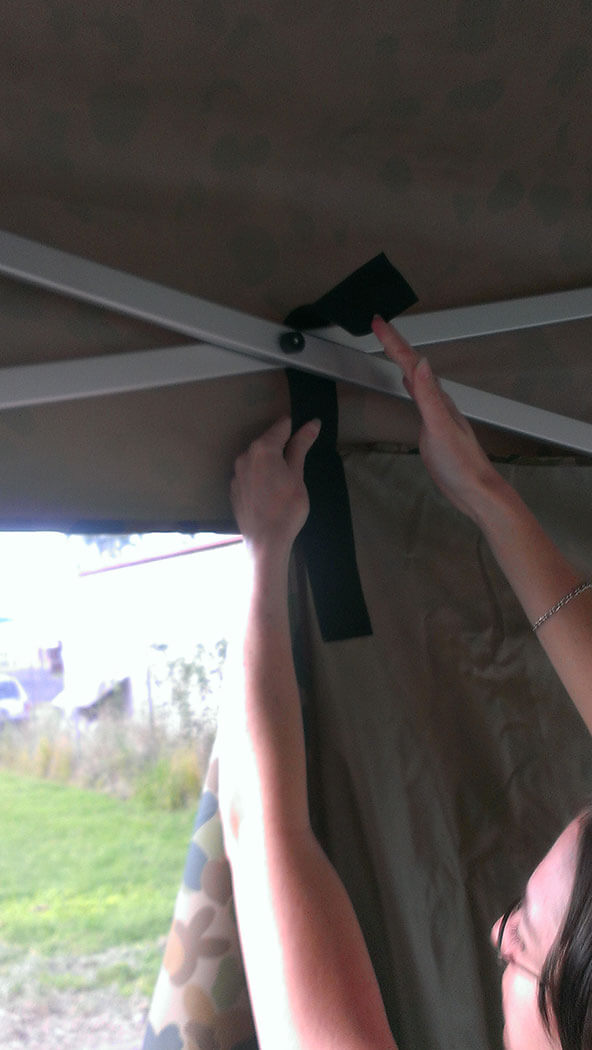
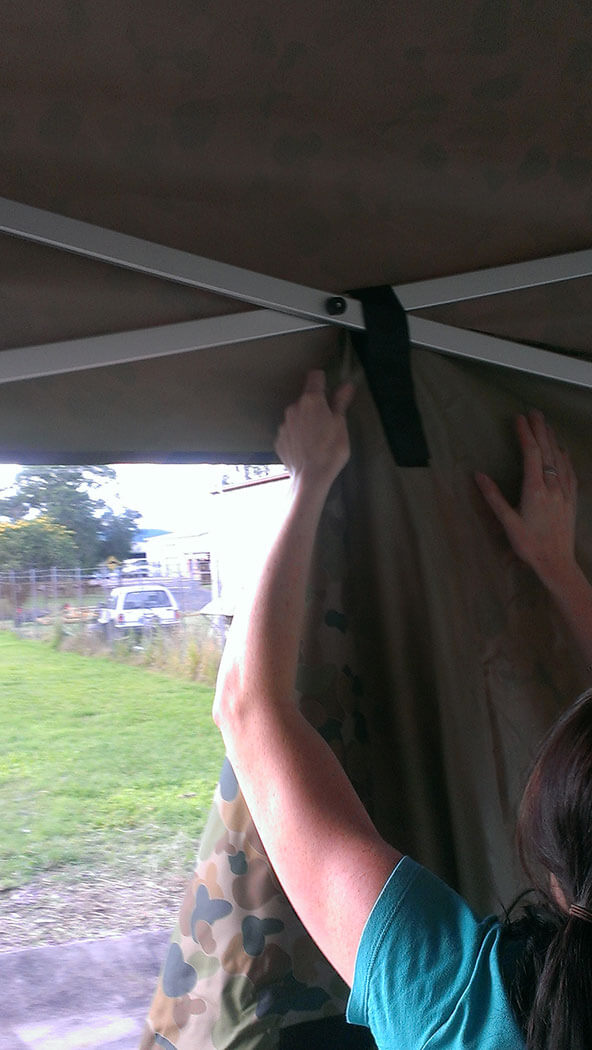
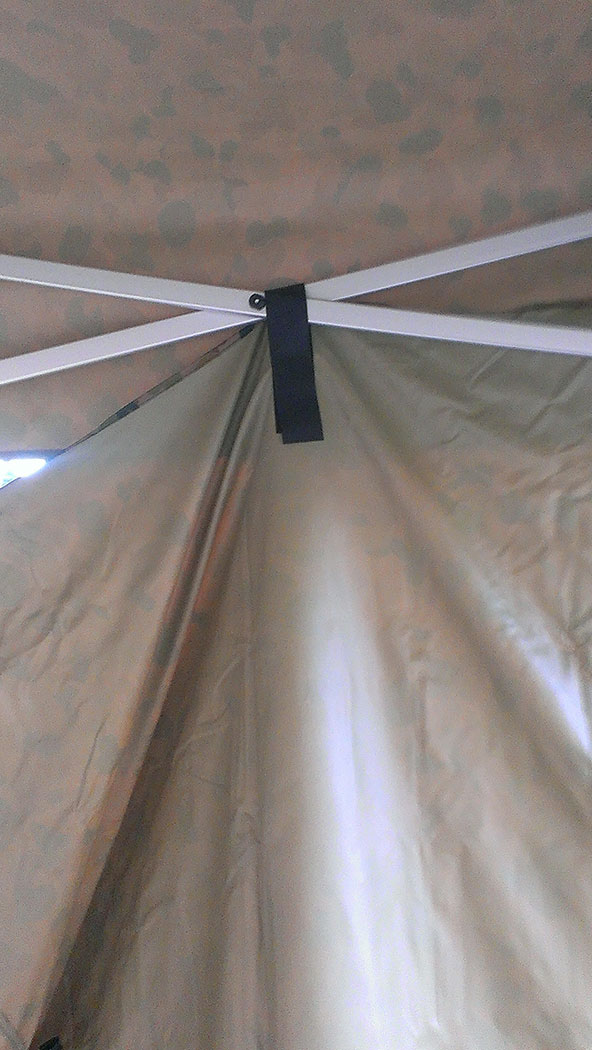
2: Start by Attaching the Velcro on the wall loosely above the bottom corner bracket and over the lower roof strut.

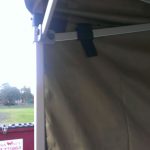
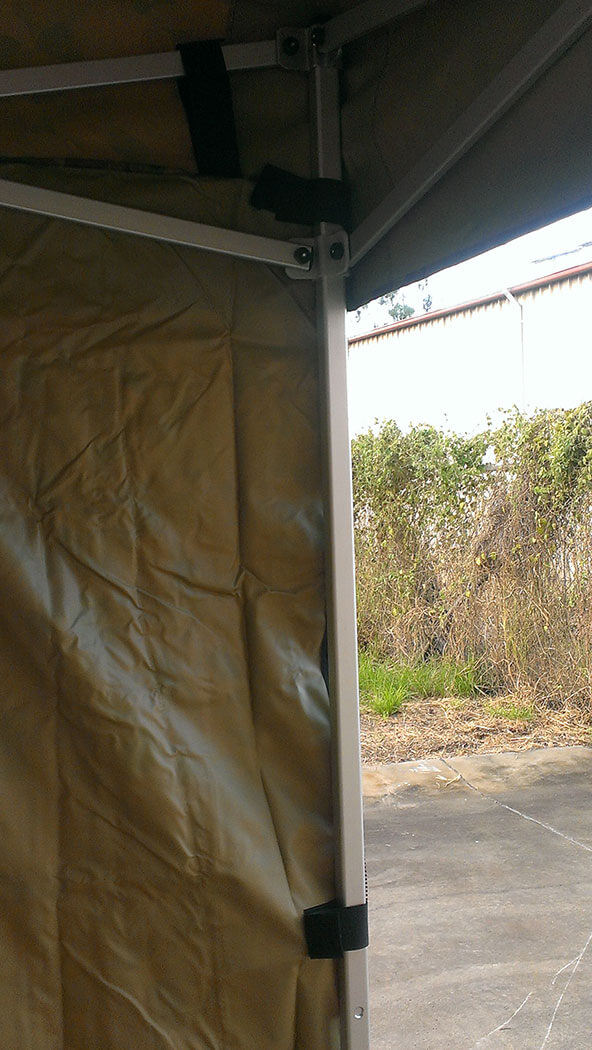
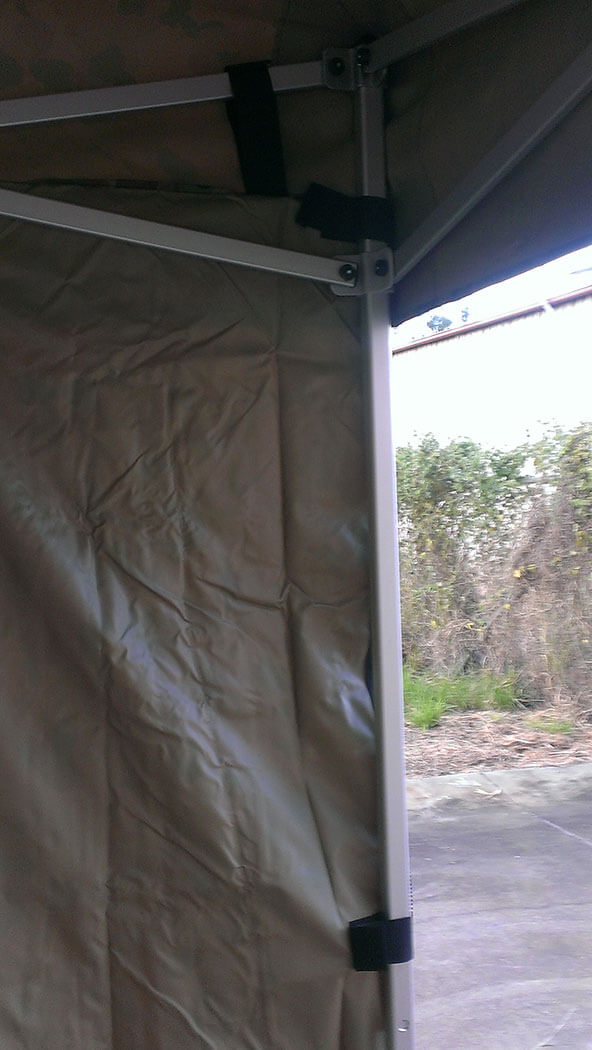
3: Then attach the Velcro loosely over the roof struts along the side of your QuikShade.
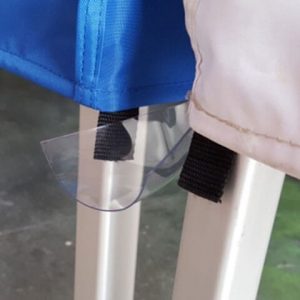
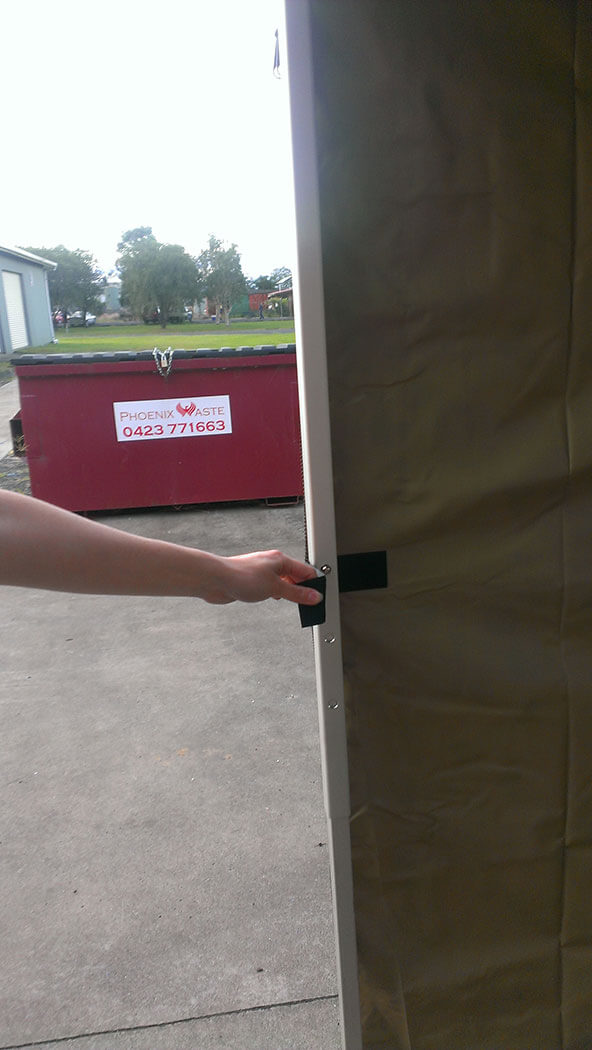
4: When the wall is suspended, you can adjust the tension in the wall by attaching the velcro around the corner posts
5: From the outside, attach the Velcro on the skirt to the Velcro patch on the inside of the wall to reduce flapping in wind.

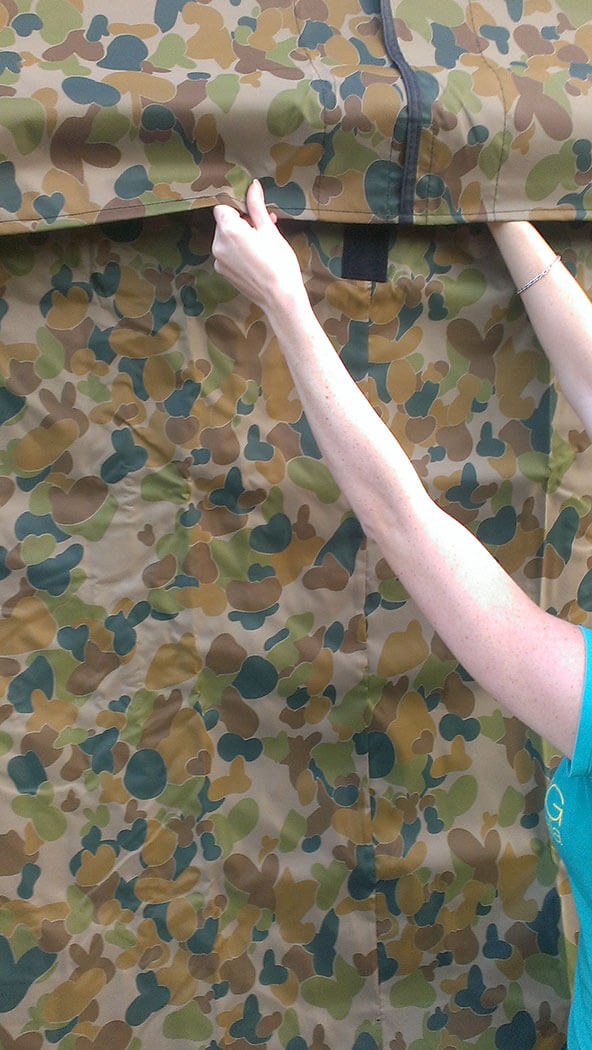
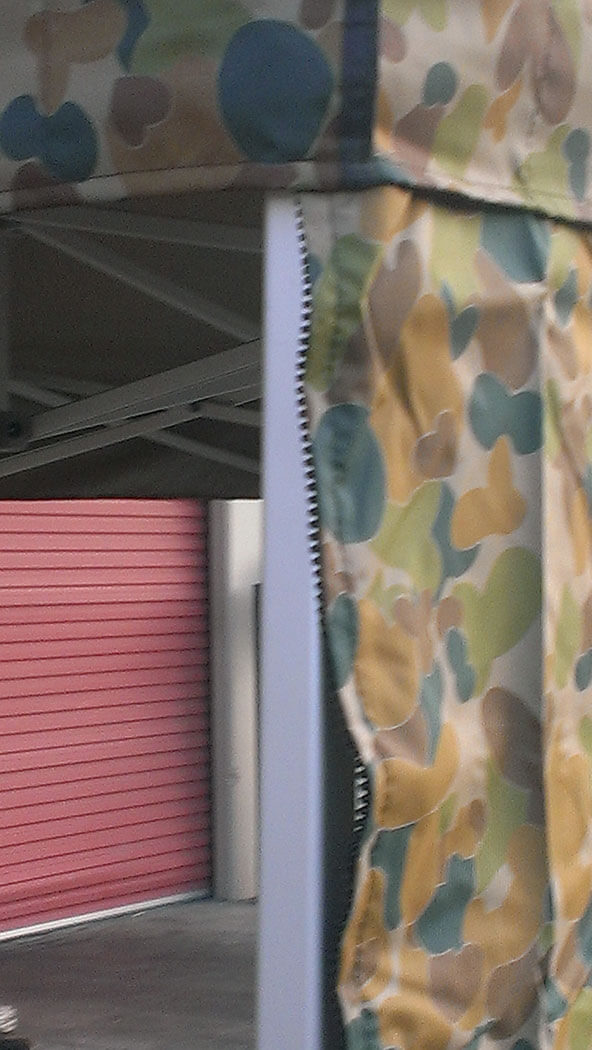
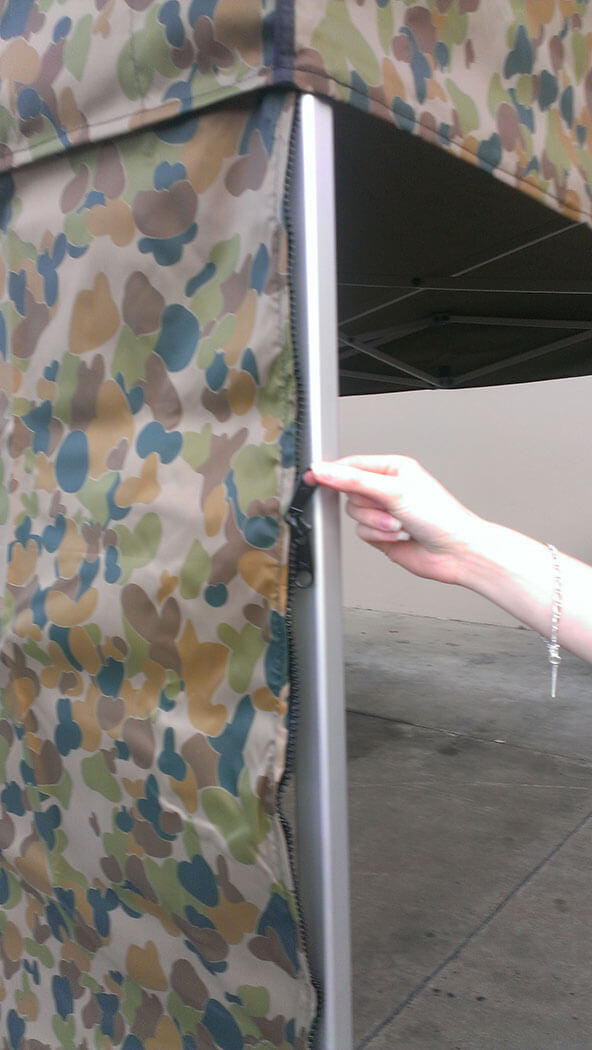
6: The walls are joined at the corner of the QuikShade with a zip, (one half of the zip is on the left hand side of the wall, the other half is on the right hand side of the wall you are attaching.). The zip is pulled down to close the gap between walls.
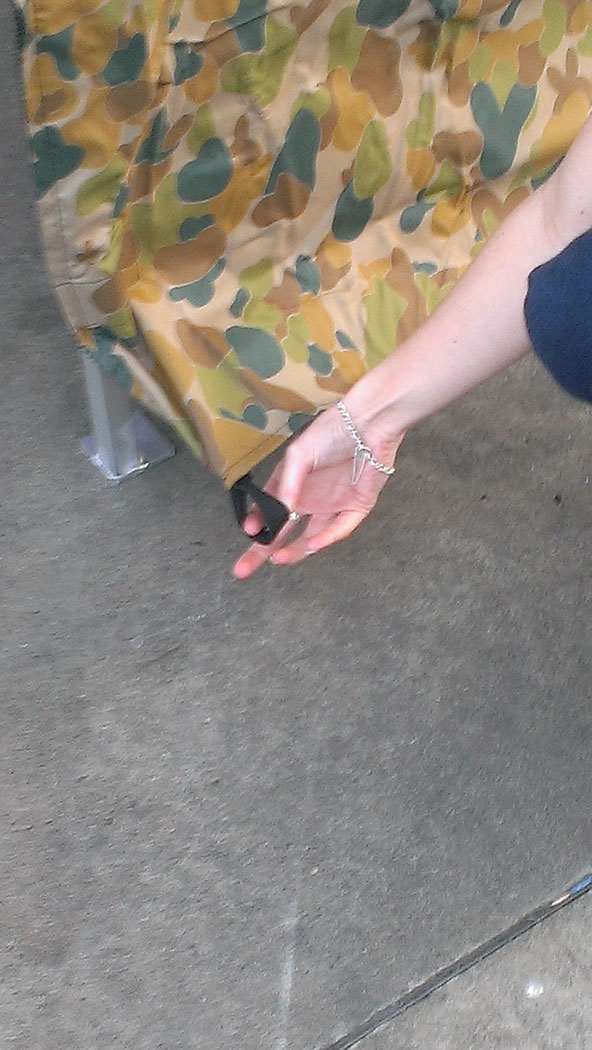
7: At the bottom of the walls, there are loops to fit the wall pegs which have been supplied with your wall.
8: Fitting guy ropes to a QuikShade which has walls – we recommend that the guy ropes are attached to the frame above the lower bracket on the posts. When walls have been fitted, it is easier to place the Guy Rope Pegs in the ground level with the inside of the wall about 30cm away from the bottom of the post – insert the peg at an angle to the ground to provide a good secure foundation.
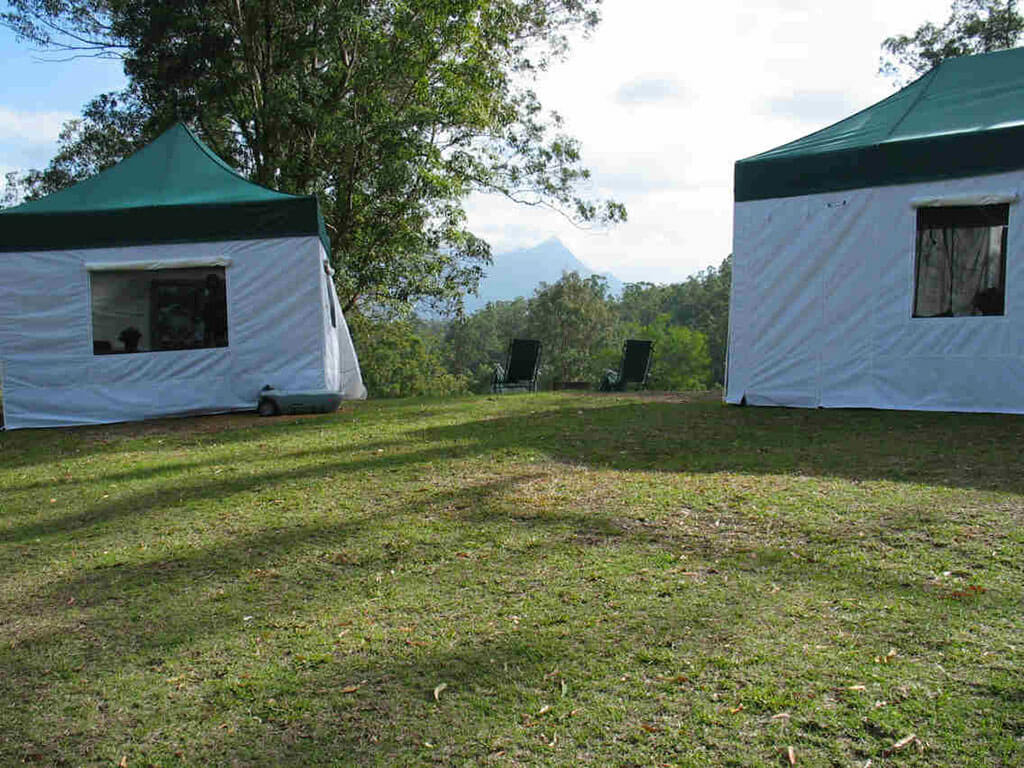
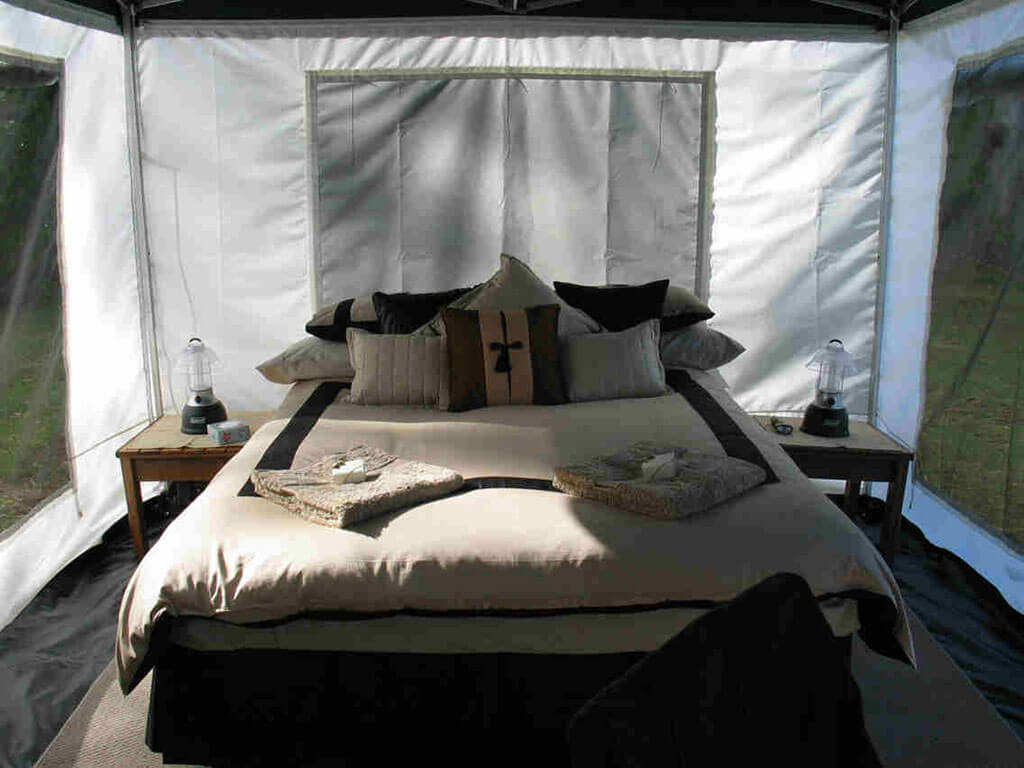
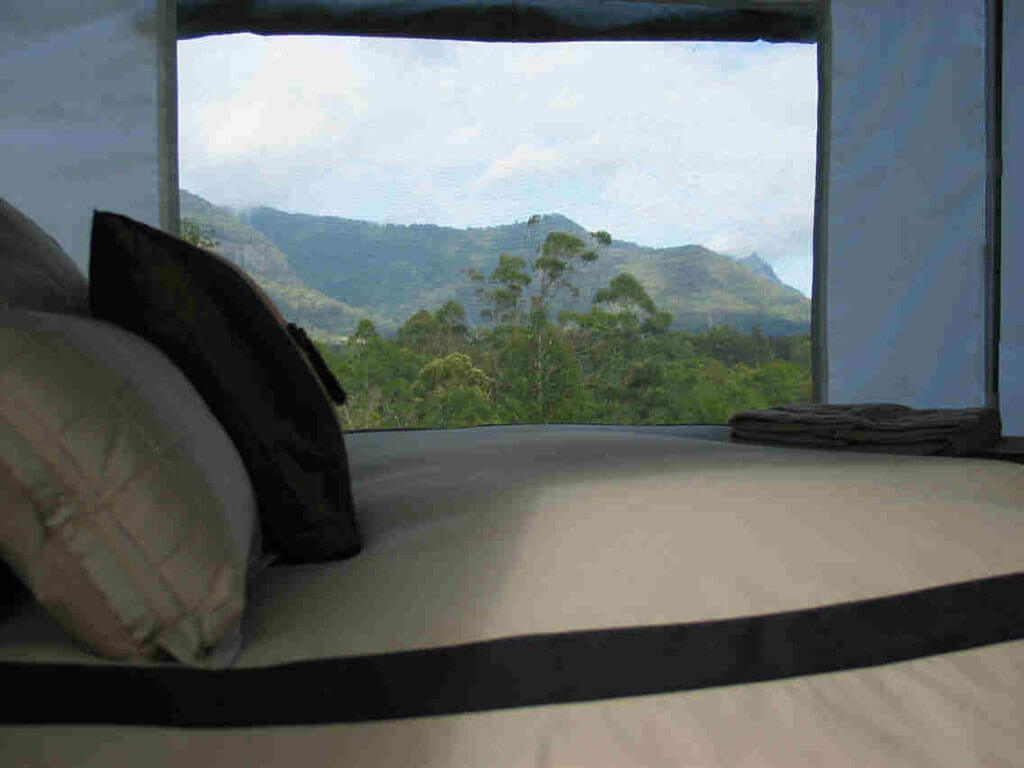
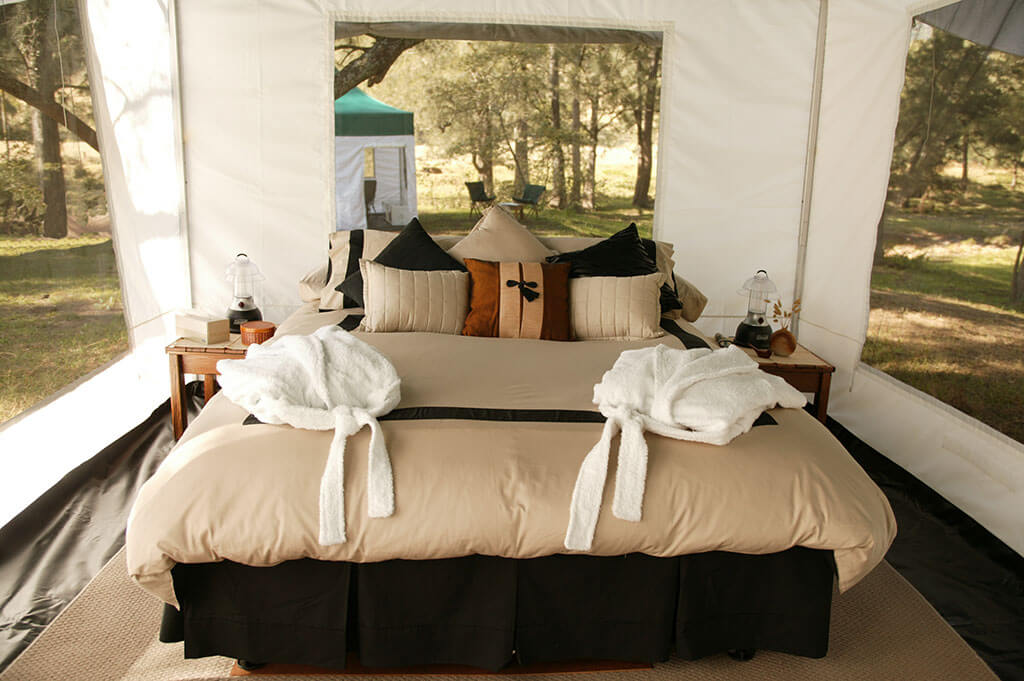
Walls with doors and windows – Doors and windows can be added to your walls, ideal for Luxury Camping “Glamping.”
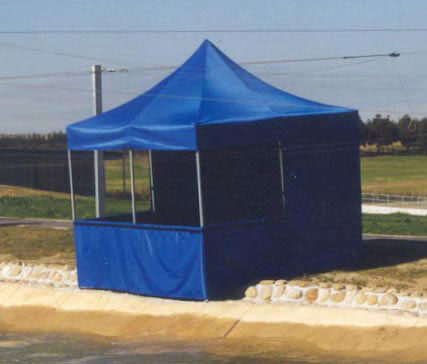
Half Walls
Half Walls are useful to create a semi-enclosed area, or the appearance of a counter front. They are suitable for printing on the outside – the inside of a half wall is rarely visible!